Google Analytics is tremendously important for understanding the visitors that come to your website. Luckily, adding Google Analytics to WordPress is very straightforward. With three methods of installation, you’ll be collecting data in no time – even if you’re not familiar with editing code.
Understanding How Analytics Works
When you create your Google Analytics account, it will prompt you to place the tracking code on every page that you want to track. For the majority of websites, you want to track every page.
To save yourself from copying and pasting the code to every page, WordPress has a shortcut built-in for running the same code on every page – it’s called the header file (header.php). The header may vary from theme to theme, but they all will load the <head> HTML section on every single page. This means you can add your tracking code once and it will load everywhere.
With that in mind, let’s explore each option and how it works.
[Fastest] How to Add Google Analytics to WordPress with Theme Options
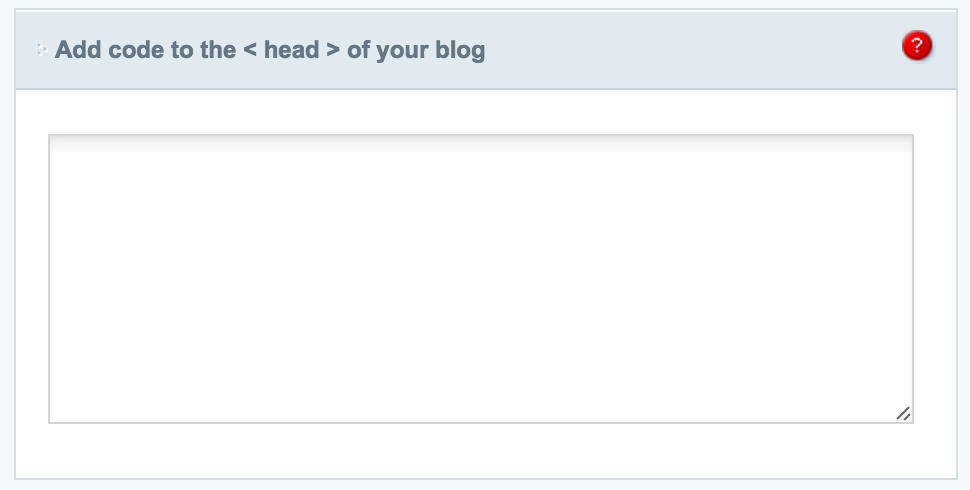
As we mentioned above, every theme has a header that loads on every page. Any good theme developer knows that the people using the theme will want to track their website’s visitors. Therefore, they will have added a field in the theme options to add code directly to the <head>. The location of the theme options will vary, but they are usually found in the Appearance menu.

Some themes may not include this option, but it can be the quickest way to add your analytics code. Be sure to remember that the tracking code will not automatically follow you to your new theme if you switch.
[Easiest] How to Add Google Analytics to WordPress with a Plugin
If your theme doesn’t have a theme option for analytics or you want to manage your analytics code outside of the theme, a plugin may be the right choice for you. There are a few plugins that you can choose from, but they all essentially do the same thing. They use code from WordPress to find the <head> and add the tracking code.
But beyond simply adding the tracking code, some plugins add advanced features for collecting and displaying the data. We recommend only using features that you need – for us, the simple code is usually enough. Feel free to check out these free Google Analytics plugins for WordPress or research the plugins from the comfort of your WordPress Admin > Plugins page, where you can install them easily.
This is the easiest method, but we like to recommend that you install only plugins that are truly necessary.
[Easy and Reliable] How to Add Google Analytics using the Header Footer Code Manager Plugin
Header Footer Code Manager by 99 Robots is a easy interface to add snippets to the header or footer of your page.
Step 1. Install the Header Footer Code Manager Plugin
You can download the plugin from – https://wordpress.org/plugins/header-footer-code-manager/, and upload it on to your website or you can install the plugin directly from Plugins > Add New > Search for Header Footer Code Manager > Install & Activate.
Step 2. Navigate to HFCM > Add New
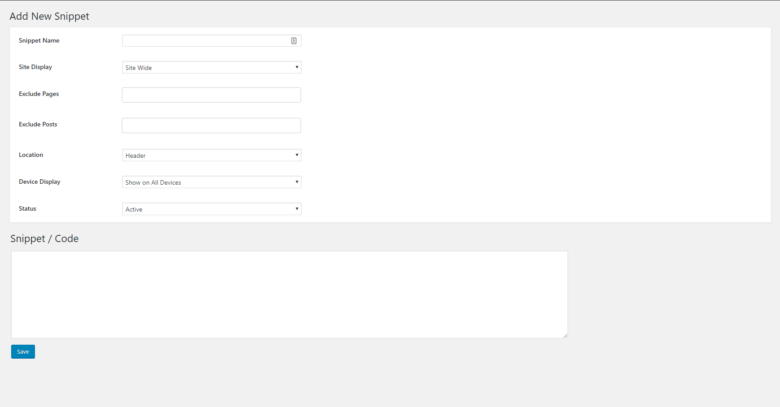
You should be seeing a page like this:
Step 3. Fill in all the details along with the Google Analytics code
- Add an appropriate Snippet Name – e.g. Google Analytics Code Snippet
- Select Location as Header
- Under the Snippet/Code section, paste your Google Analytics code.
- Click Save
- Please Note: Do Not change any other settings / options on this page. For detailed information on how to use the plugin please go through the Plugin Documentation once.
That’s it!
To take a look at your snippet or to edit / update any existing snippet – Navigate to HFCM > All Snippets. Hover over the Snippet you wish to edit and click on Edit. Once you have edited your snippet, make sure you click on Save before exiting.
The Header Footer code manager allows a quick, clinical and reliable way to add a code snippet to your website’s header or footer. This plugin can also be used to place other tracking codes such as Facebook Pixels, etc.
[Most Reliable] How to Add Google Analytics to WordPress Manually
This is the most surefire method. It doesn’t require an extra plugin or a theme option and will be hardcoded into your theme. Please note that, just like with the Theme Option, this code will not automatically update to a new theme if you switch. Always remember to update your code!
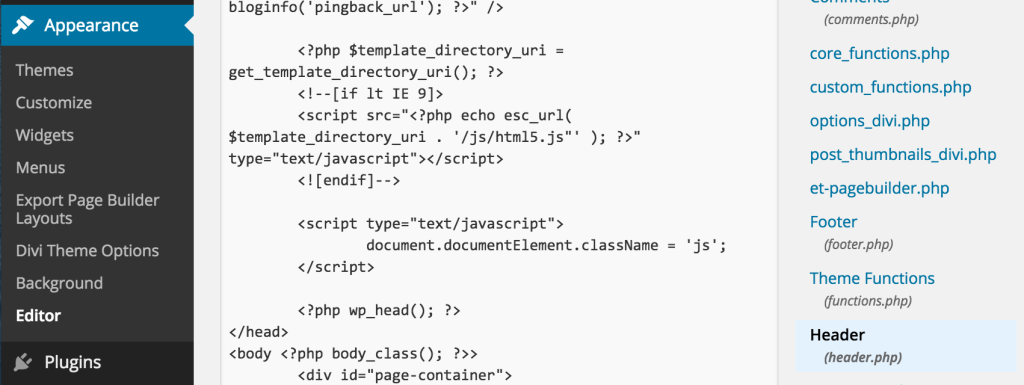
Step 1. Navigate to Appearance > Editor
Open the Theme Editor from the Appearance menu. This tool allows you to directly edit the theme files so you can change the theme however you like. We recommend you to touch these files only if you know what you’re doing.
Step 2. Open the header.php file
On the right hand side is a list of all the theme files. Select header.php from the list to open the header file.
Step 3. Paste your code above </head>
Now just paste your code above the </head> tag and click Update at the bottom of the Editor. Your Google Analytics code is now set and you can track your visitors!
Next Steps
Now that you’ve successfully started tracking your visitors, it’s time to get a good understanding of what those numbers mean. Check out our Beginner’s Guide to Google Analytics for tips on wrangling the analytics beast. Also, you’re going to want to filter out your views, so you see metrics for only the new visitors.


One Response