
Google Tag Manager is a very handy tool to have installed on your site due to the ease at which codes for tracking pixels can be installed with it.
The installation procedure can be pretty straight-forward but I have seen instances where it has been made out to be complicated.
So here is a simple and easy method to install your GTM codes to ClickFunnels.
Having the GTM codes ready first:
Part 1 – Create a Google Tag Manager account if you do not already have one
(skip to Part 2 if you already have a GTM account)
1) Sign up for Google Tag Manager at https://tagmanager.google.com/ (it is free)
2) At the accounts section, click on ‘Create Account’

3) Enter your website/company name in the Account Name field.
4) Click on continue.
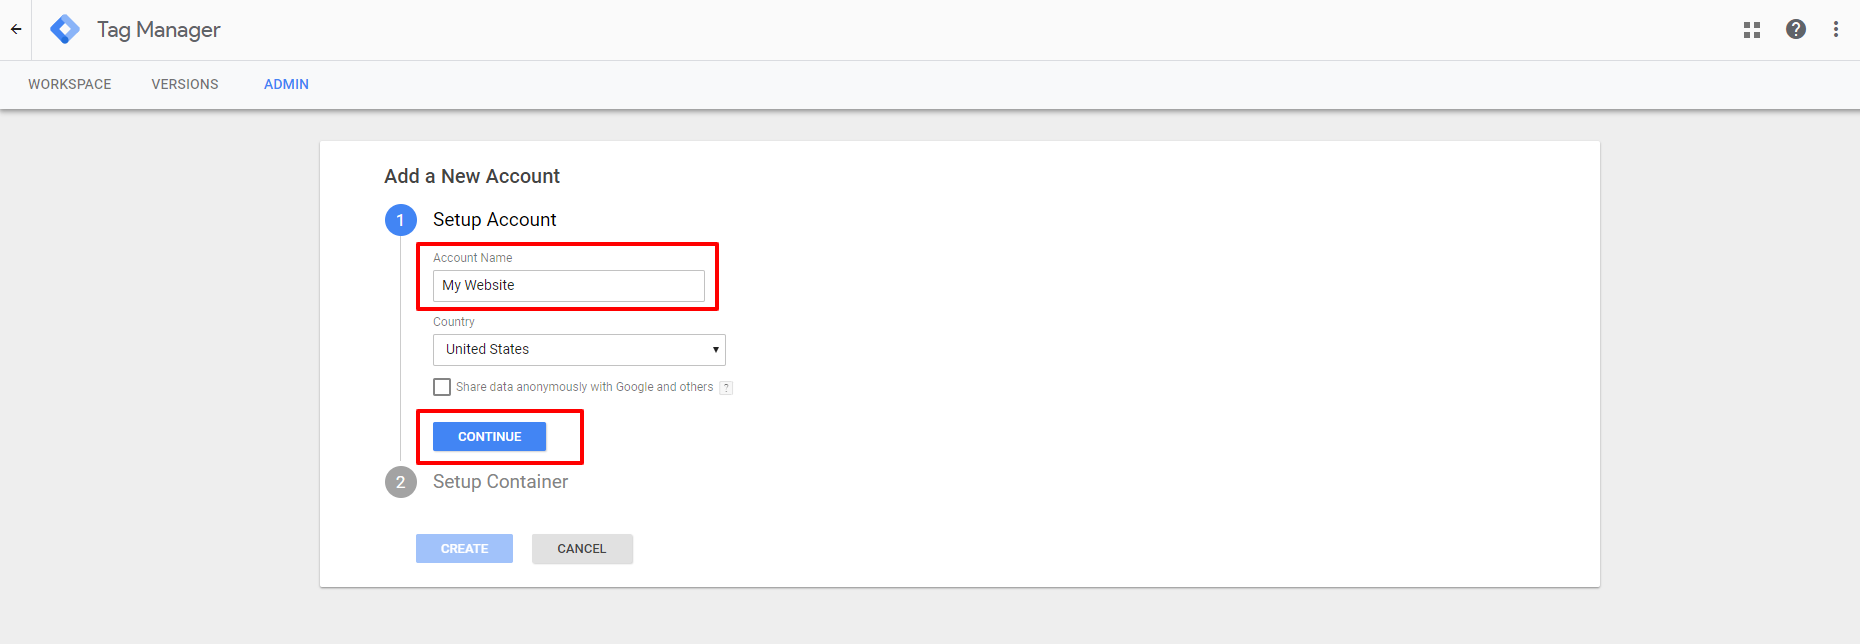
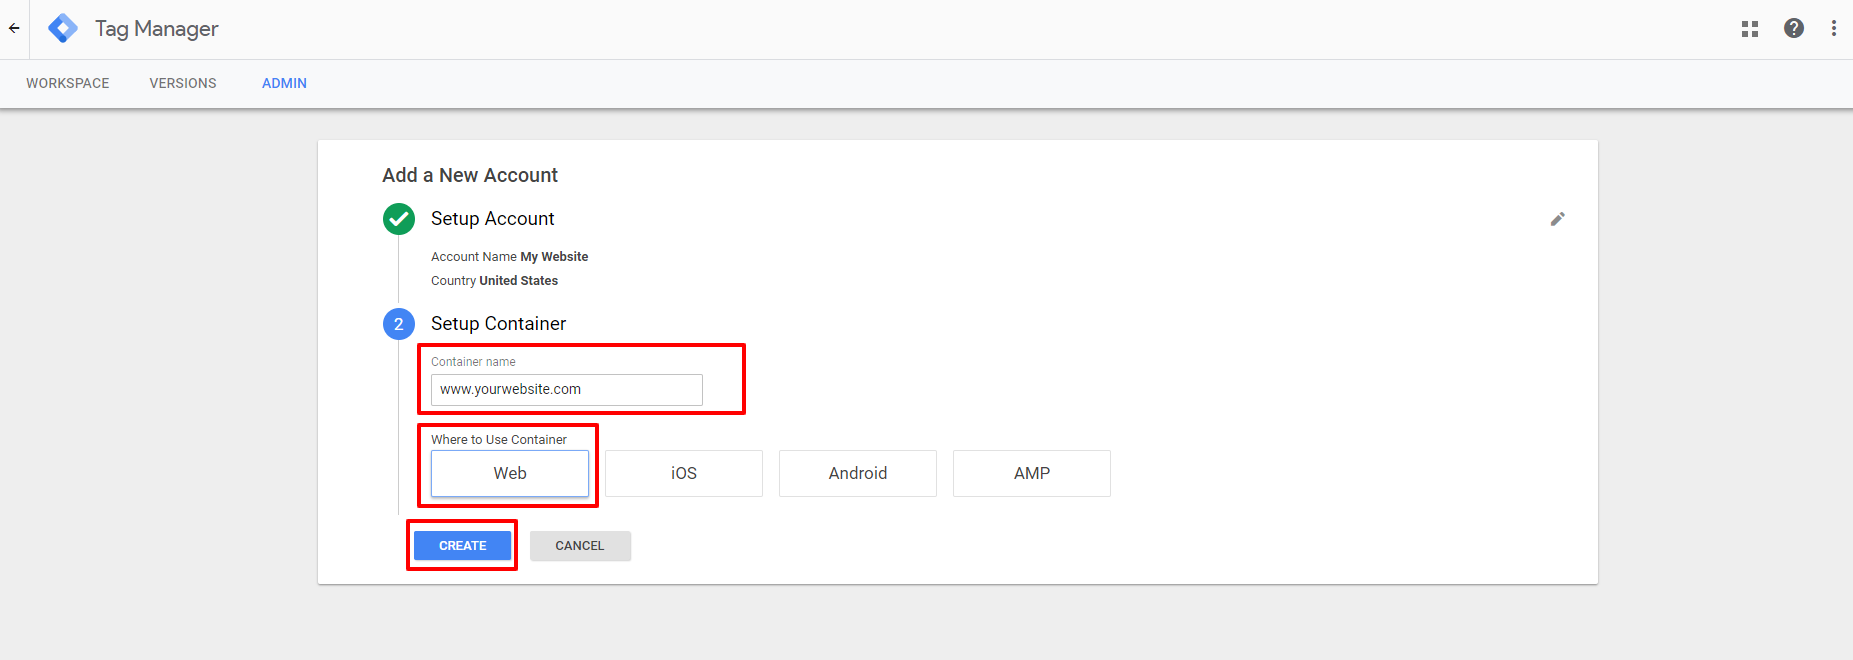
5) In the ‘Setup Container’ section:
- Enter your website URL in the ‘Container Name’ field.
- Select ‘Web’ as the codes will be installed on a website.
- Click on ‘Create’
Part 2 – Getting the GTM pixel codes to install
1) Sign in to GTM
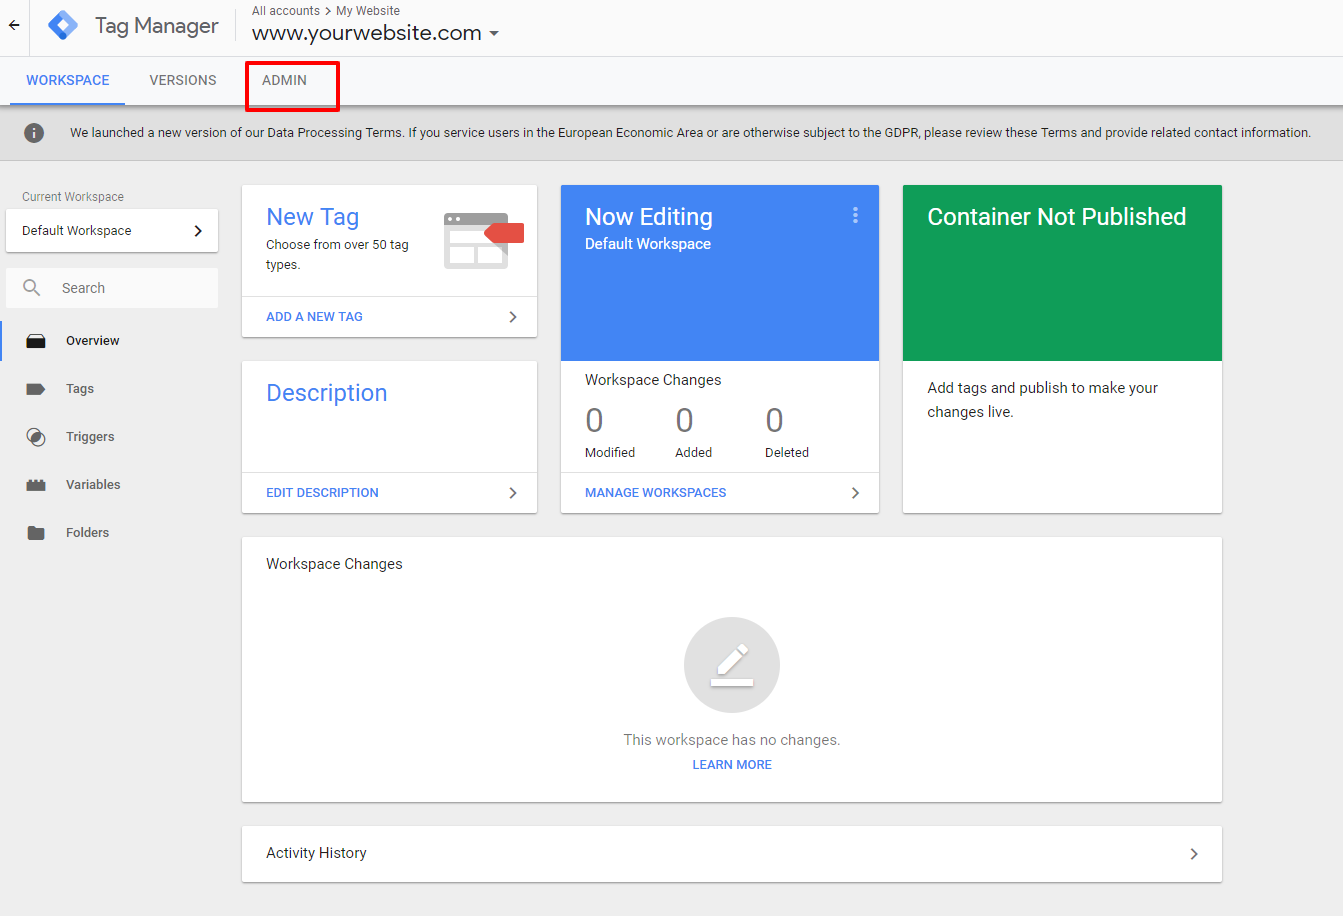
2) Click on the appropriate website/container name in the list within your account.
3) Click on ‘Admin’
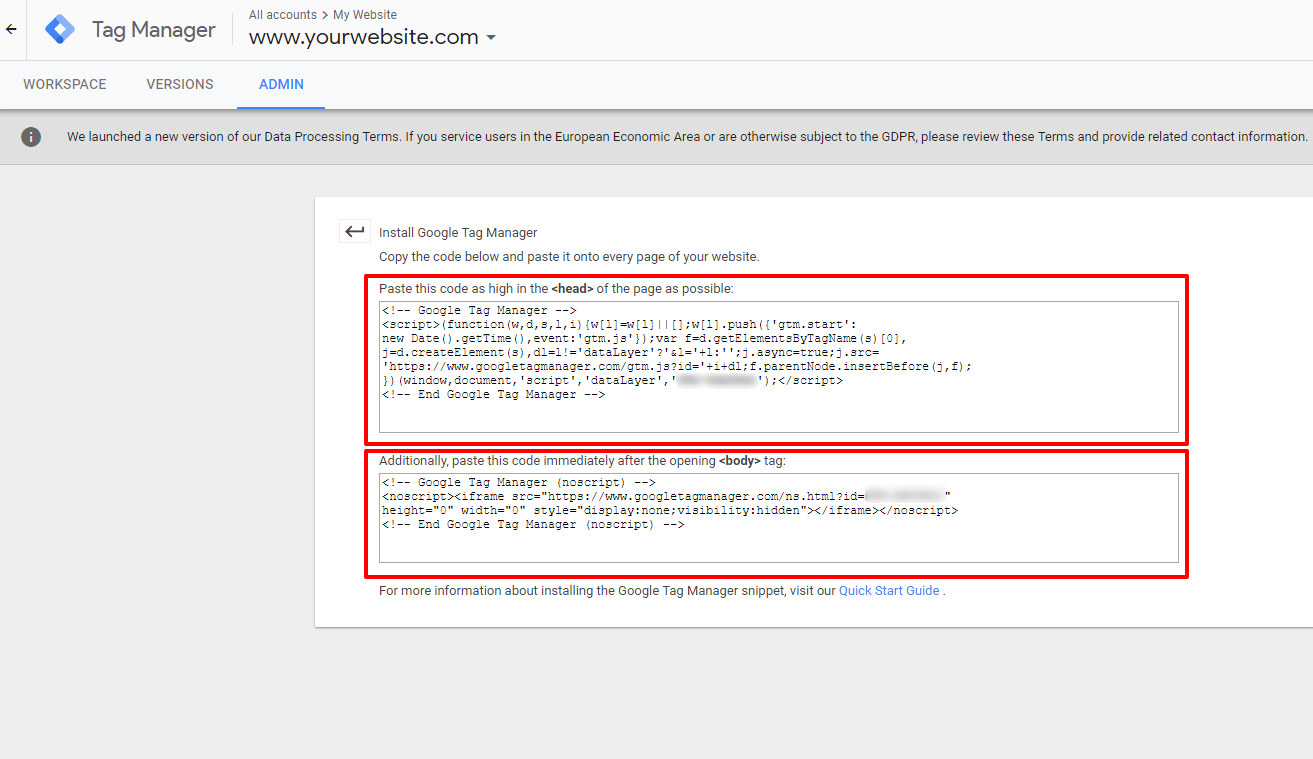
4) Click on ‘Install Google Tag Manager’
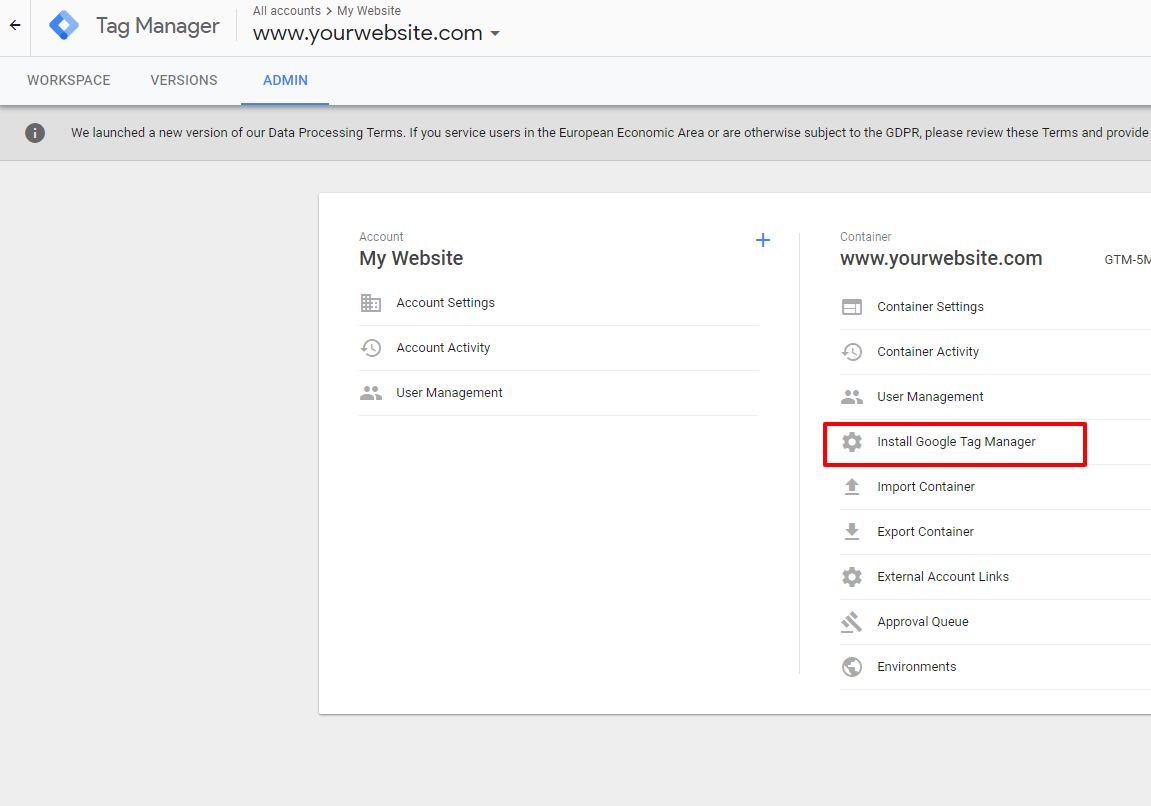
5) Here are the two parts of the pixel code that we need to install.
Part 3 – Installing the Google Tag Manager codes in ClickFunnels
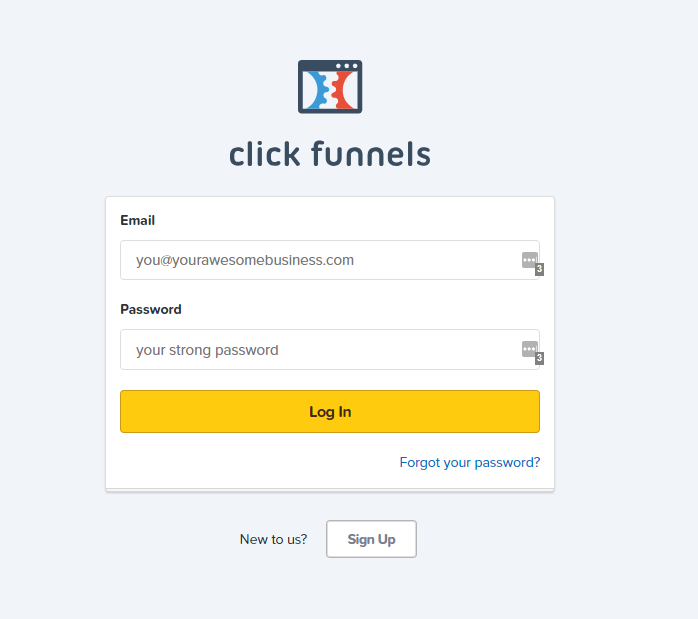
1) Sign in to ClickFunnels
2) Click on the ‘Funnel’ sub-menu option in ‘ClickFunnels’

3) Select the relevant funnel you wish to install Google Tag Manager.
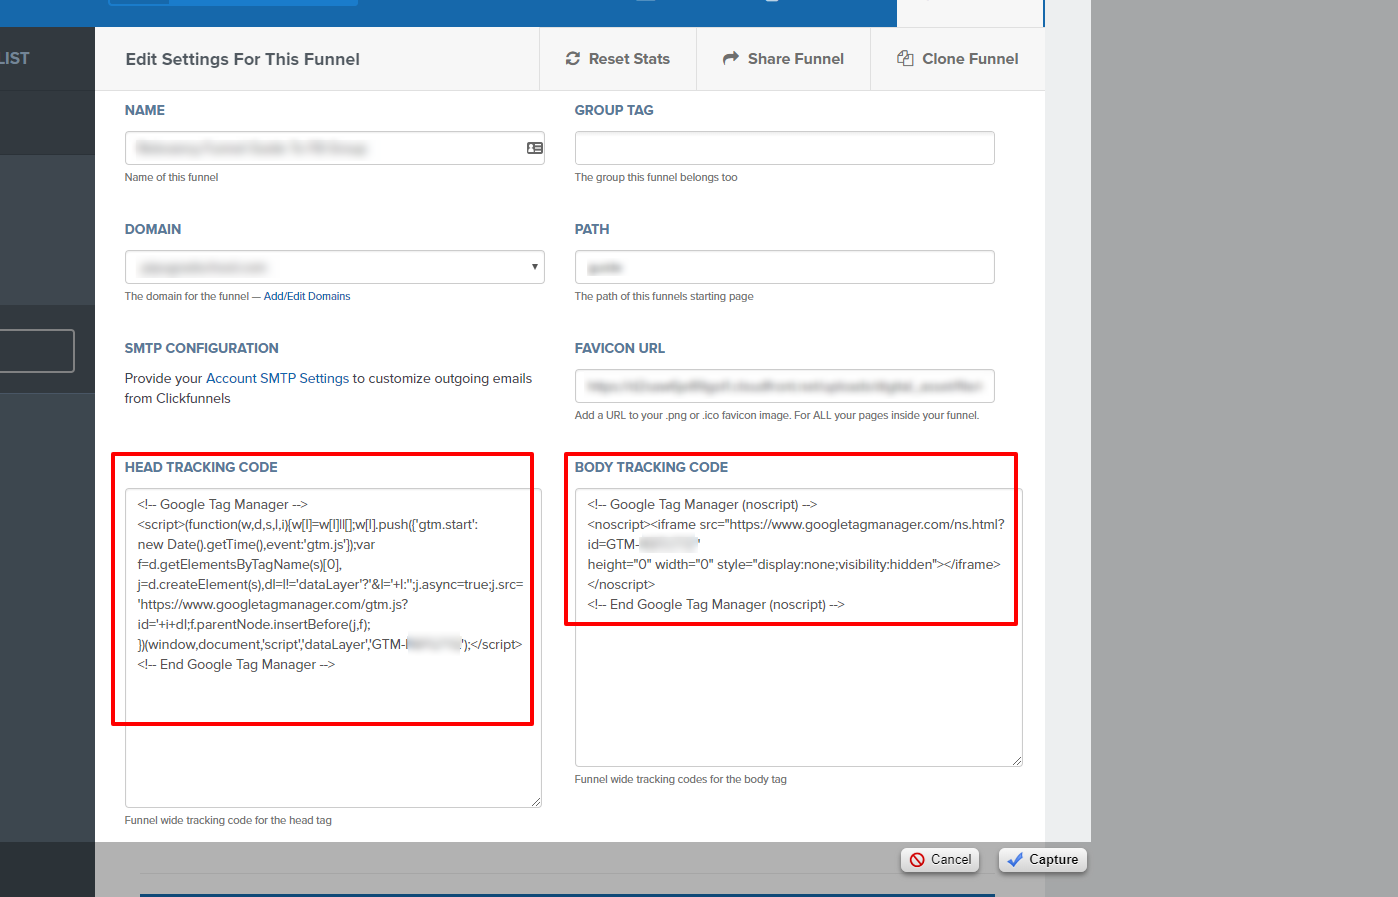
4) Click on ‘Settings’

5) Copy and paste the head section of the pixel code in the ‘head tracking code’ field.
6) Copy and paste the body section of the pixel code in the ‘body tracking code’ field.
7) Scroll down to the bottom of the page and save the funnel.
Your Google Tag Manager pixel codes are now installed and will load on all funnel steps in the funnel you just placed the codes to.
Got multiple funnels? No worries, just repeat the steps for Part 3 in each of the funnels you wish to install Google Tag Manager.
Best of Luck!


One Response
Can you have a facebook pixel and a google tag manager on the same funnel