
UPDATE – MARCH 2019: Recently, Mailchimp and Shopify had a bit of a breakup. Therefore, Mailchimp and Shopify integration is no longer possible. For more information, here’s the he said side (Mailchimp Statement) vs. the she said (Shopify Statement) side of the story.
MailChimp for Shopify automatically syncs the customer data to MailChimp, thereby enabling you to use that data to created targeted campaigns, use the MailChimp e-commerce link tracking (for sales tracking), and measure your Rate Of Interest (ROI).
Below are the prerequisites and steps on How To Connect MailChimp to your Shopify Store. You may need to hire one of the many Shopify developers to assist if you are unable to do it yourself.
Prerequisite notes
- Each Shopify store should be connected to an individual list inside MailChimp. Multiple Stores cannot be connected to a single list, they should have their independent lists.
- When your Shopify Store is connected initially, all customers who have opted in for marketing emails will be added as subscribed contacts. The sync will add the First Name, Last Name, Email, Physical Address and Company to the list. If a customer unsubscribes from a campaign, they will be removed from the MailChimp list. This can also be done manually, by removing a customer entry from the list.
- Addresses of Shopify customers who have opted out of marketing emails, cannot be exported. However, they may receive promotional or transactional emails. These customers will appear as non-subscribed contacts in your list. You can read more about contact types in MailChimp here.
- It will take about 30 days for your store and customer data to be removed from MailChimp, once you disconnect your store.
- Turn on inventory tracking inside your Shopify Store to avoid seeing out of stock products in Product Recommendations in MailChimp.
- Make sure you select only one of either MailChimp order notifications or Shopify order notifications to avoid duplicate emails. You can read more about order notifications here for MailChimp and here for Shopify.
How To Connect Shopify
- Login to your MailChimp account.
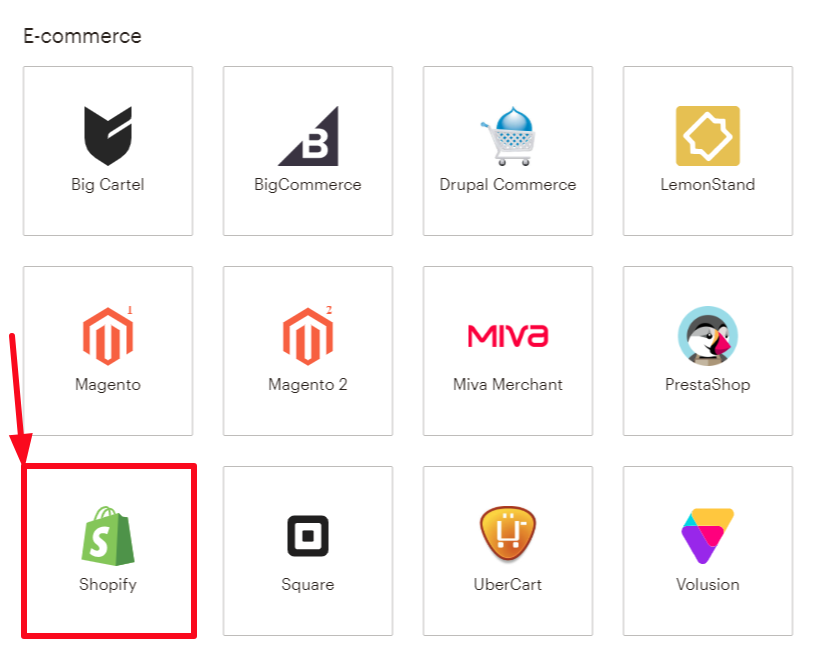
- Click on the dropdown beside your account profile, and click on Connected Sites.

- Click on Shopify.

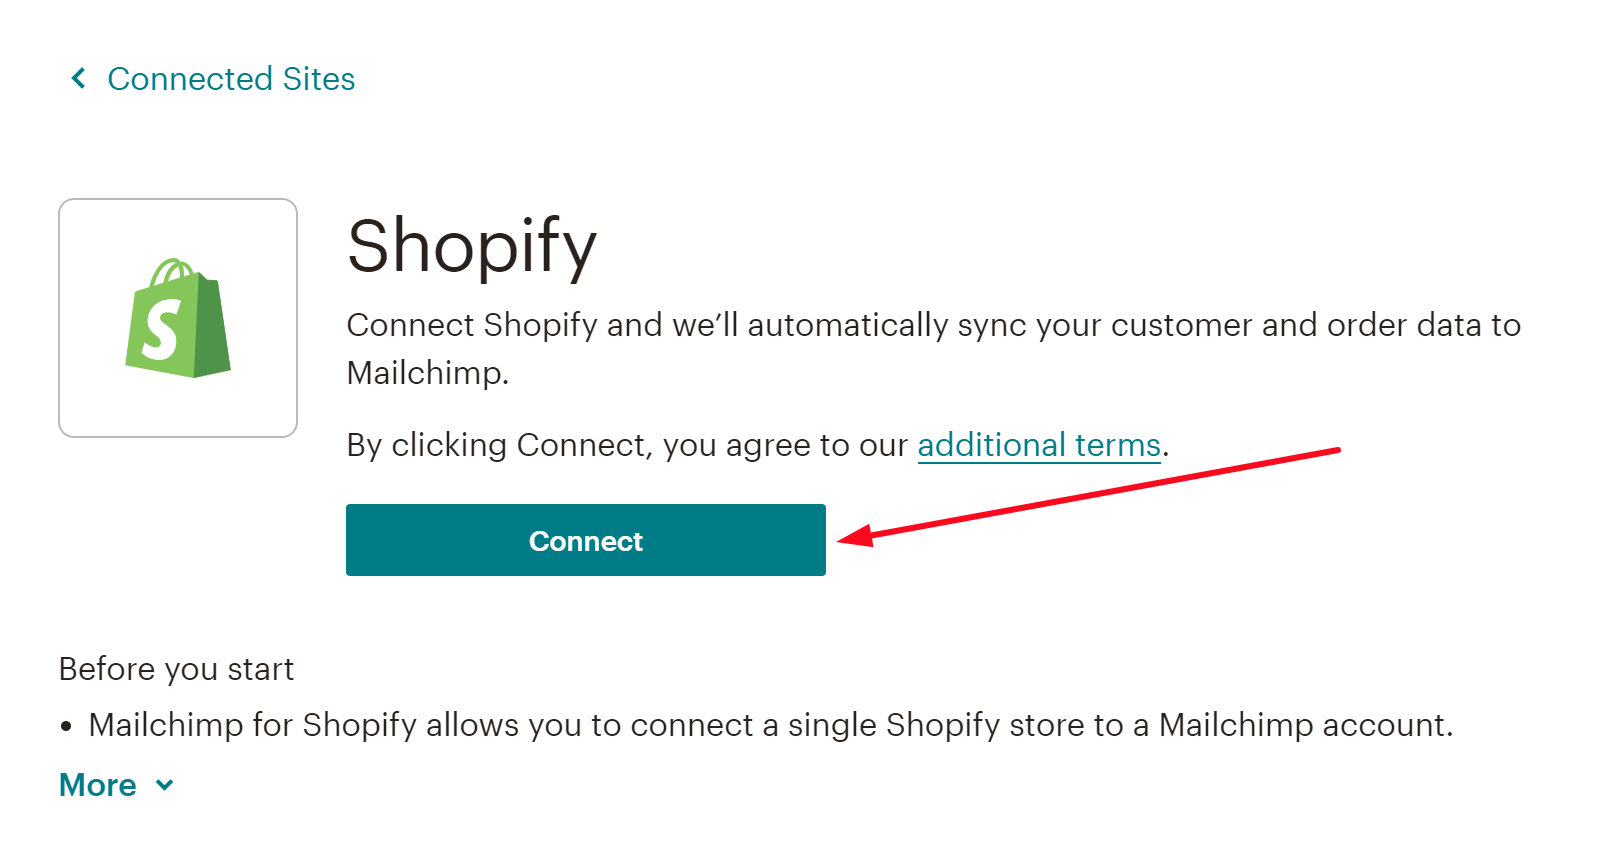
- Click Connect.

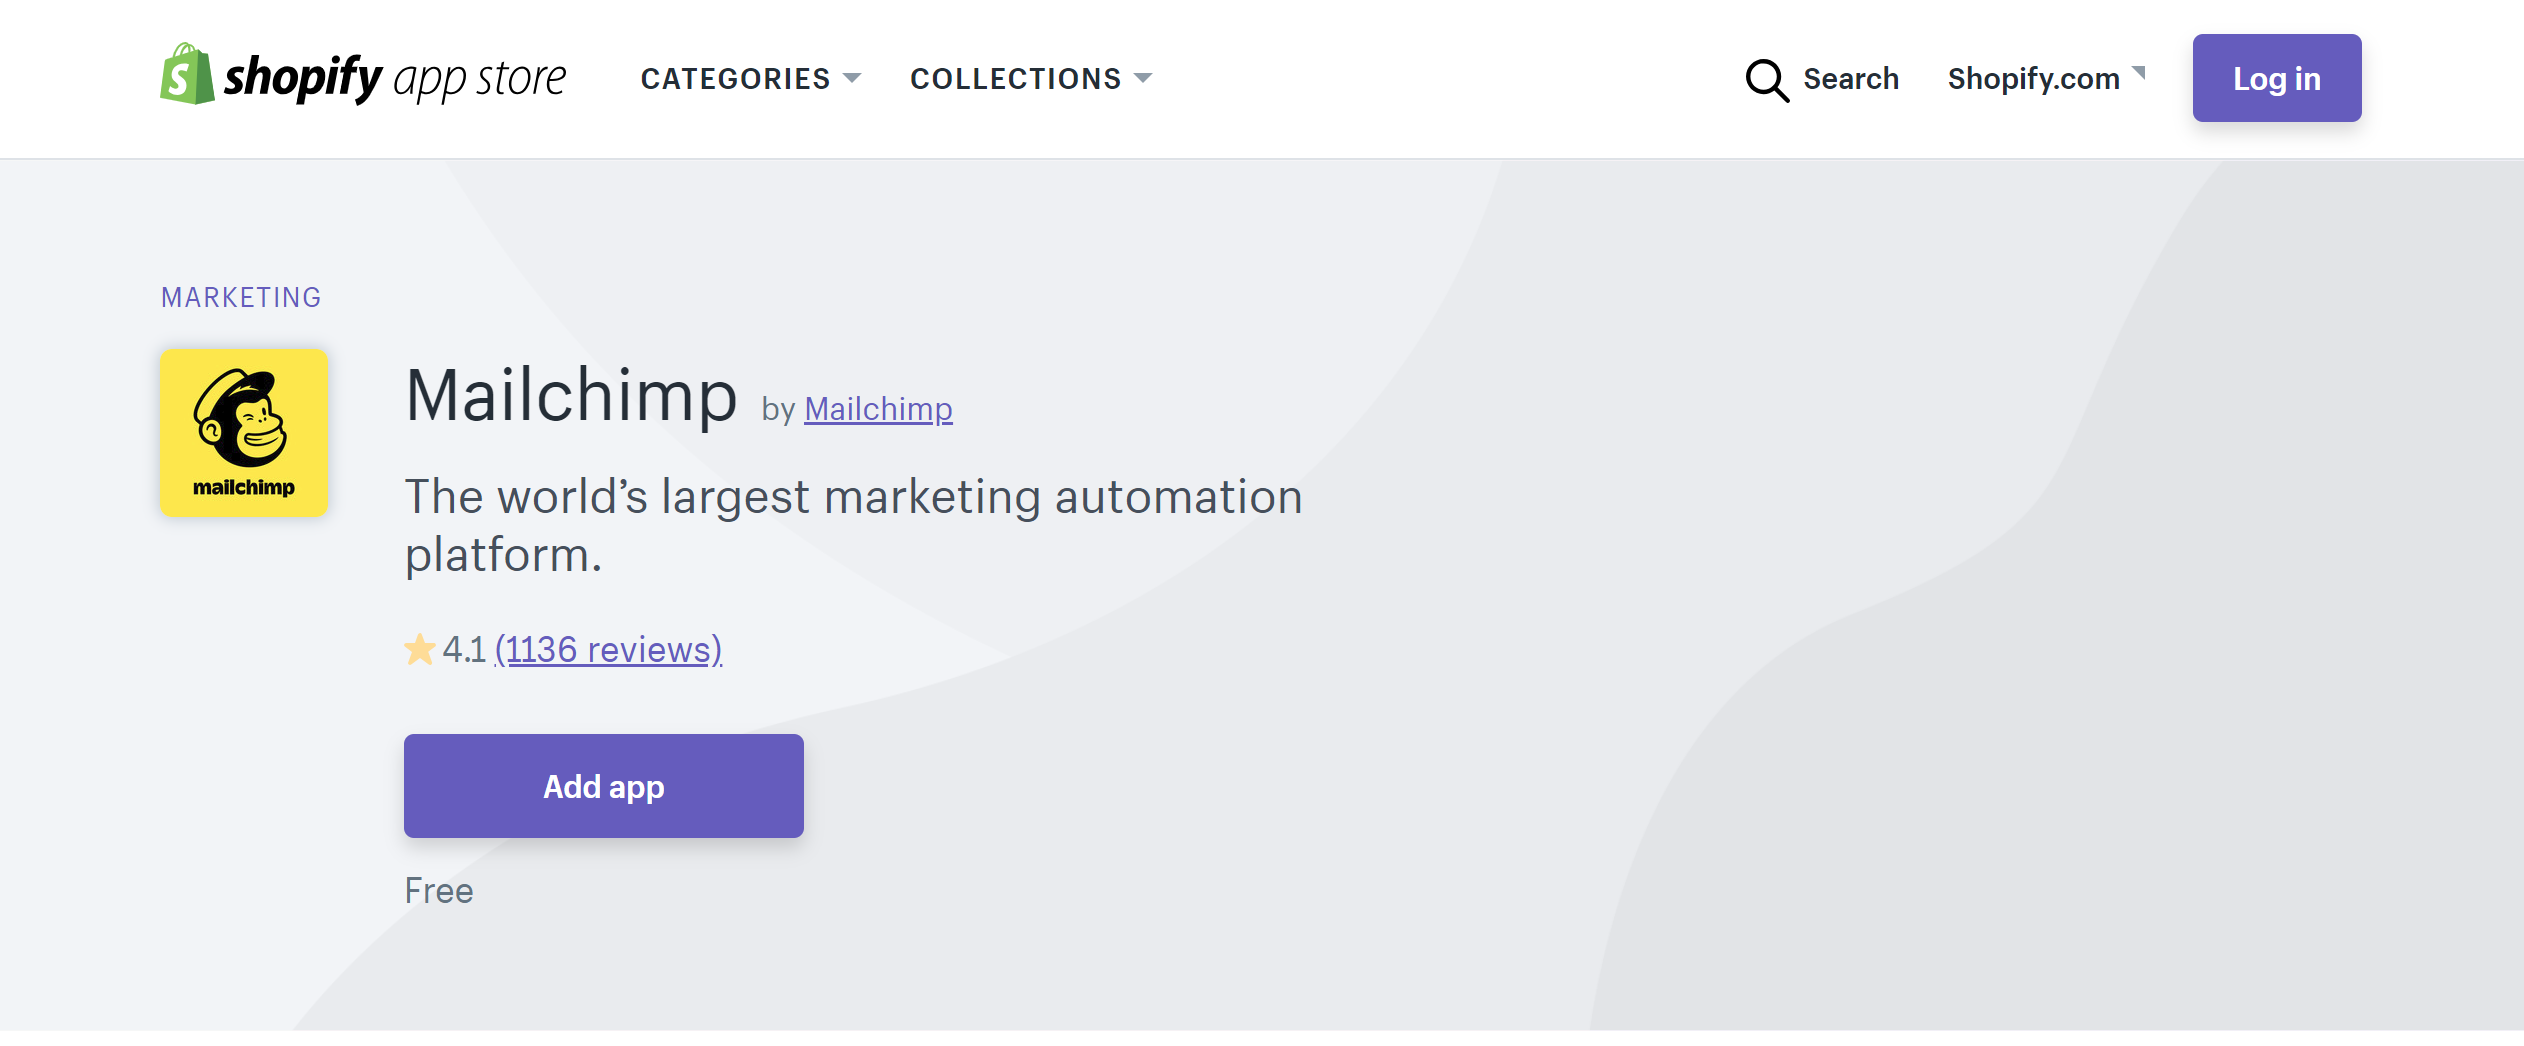
- You will be redirected to a Shopify app installation screen.

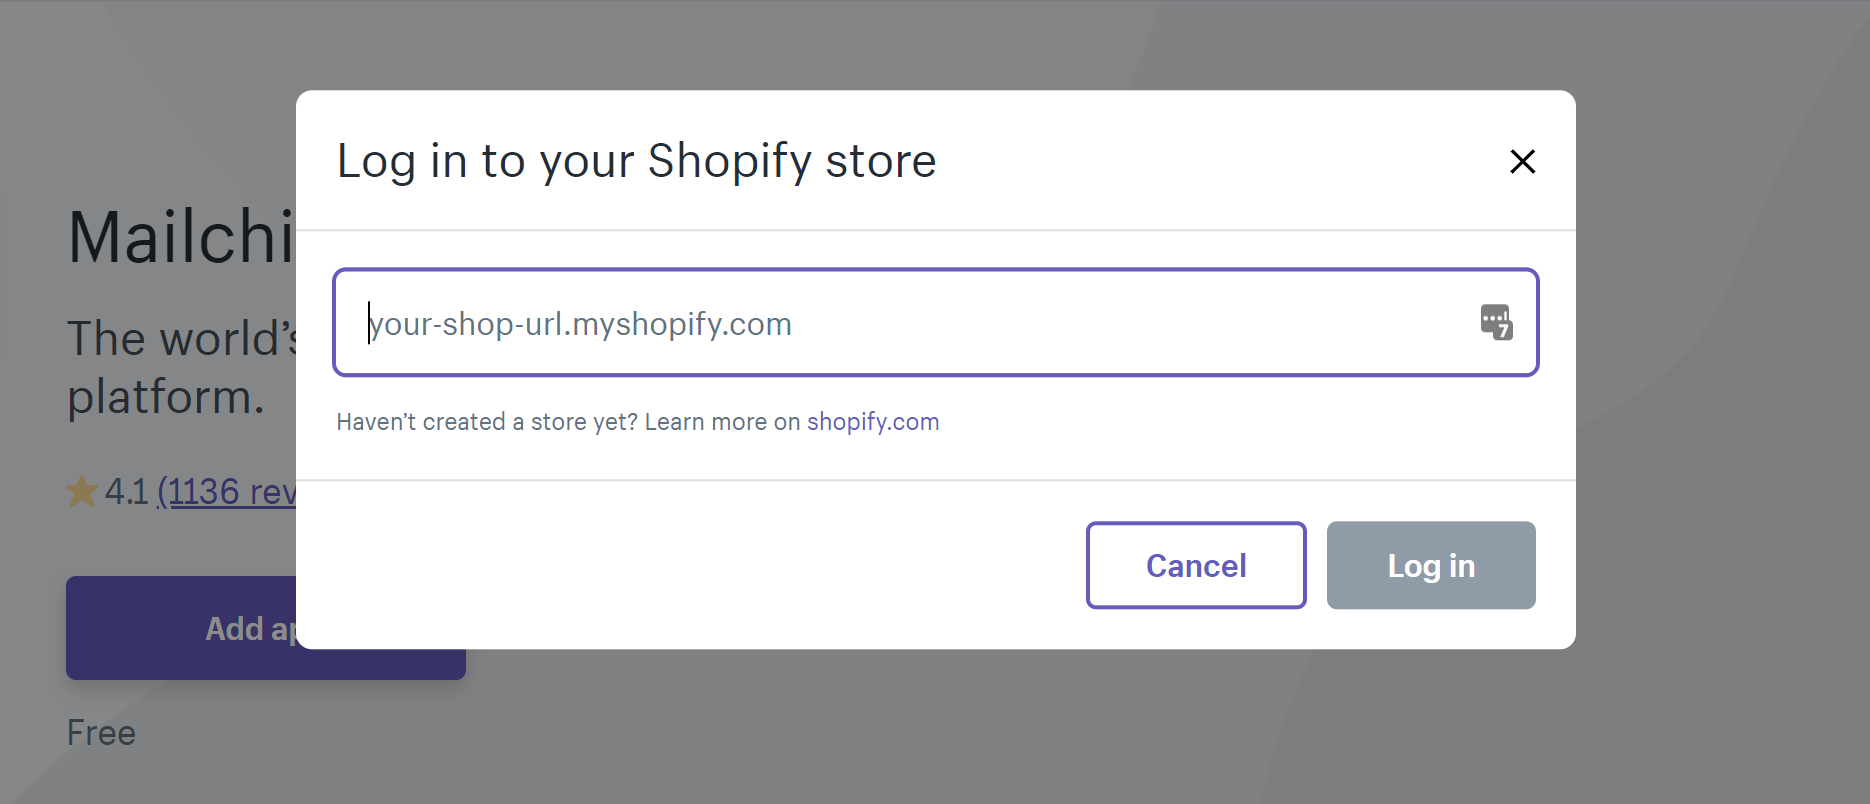
- Click on Add app > Enter your Shopify URL > Click on Log in.

- Enter your credentials, and click on login again.
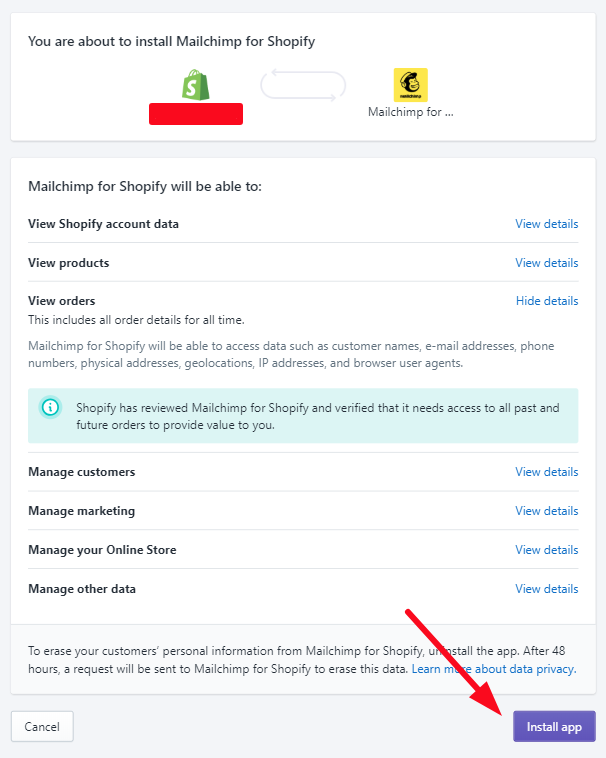
- Click on Install App on the installation screen.

- Click Connect existing account if you already have an account. If you do not have an existing MailChimp account and have directly installed the app into your Shopify Store, click on Create Account. After your account verification, you will be requested to create a secure password through email to activate your new account.
- In the next screen, Choose a MailChimp List to connect your Shopify Store too.

Please Note: Each Shopify Store can be connected to a single MailChimp list. Multiple Stores cannot be connected to a single list.
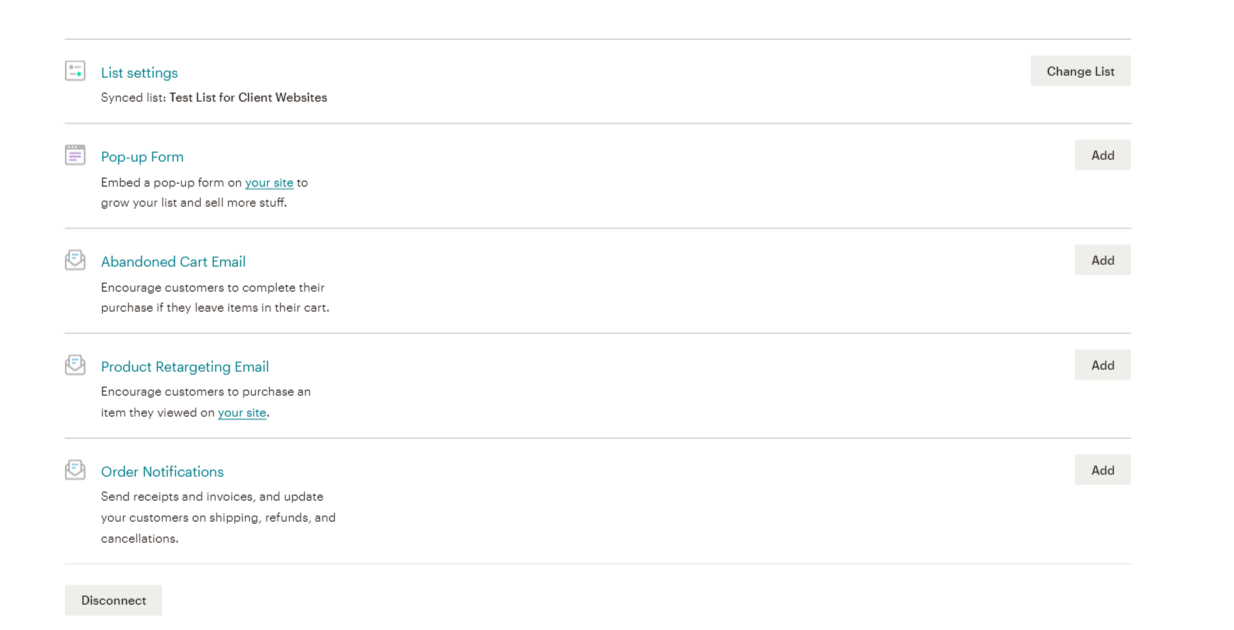
And You’re Done! You can view your store’s details in MailChimp > Account > Connected Sites. From here you can manage your store’s data, automate e-commerce emails to your customers, add forms or popups to your store and view / manage customer data.
You can target groups of your customers based on specific data sets like date purchased, total orders placed, geographical location etc. To do this, you can create segments inside of MailChimp.
How To Create Segments
- Navigate to Lists inside MailChimp > Select the List you want to segment.
- Click on New Segment.

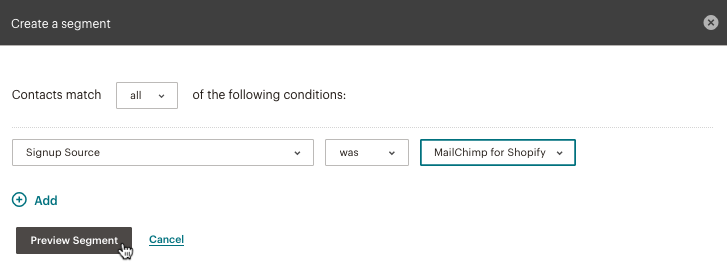
- On the Create Segment screen – select the dropdowns as follows – Signup Source | was | MailChimp for Shopify. Click on Preview Segment to review.

- Click Save Segment. Type in an appropriate name for your segment in the modal that pops up, and click Save.

Disconnect Shopify
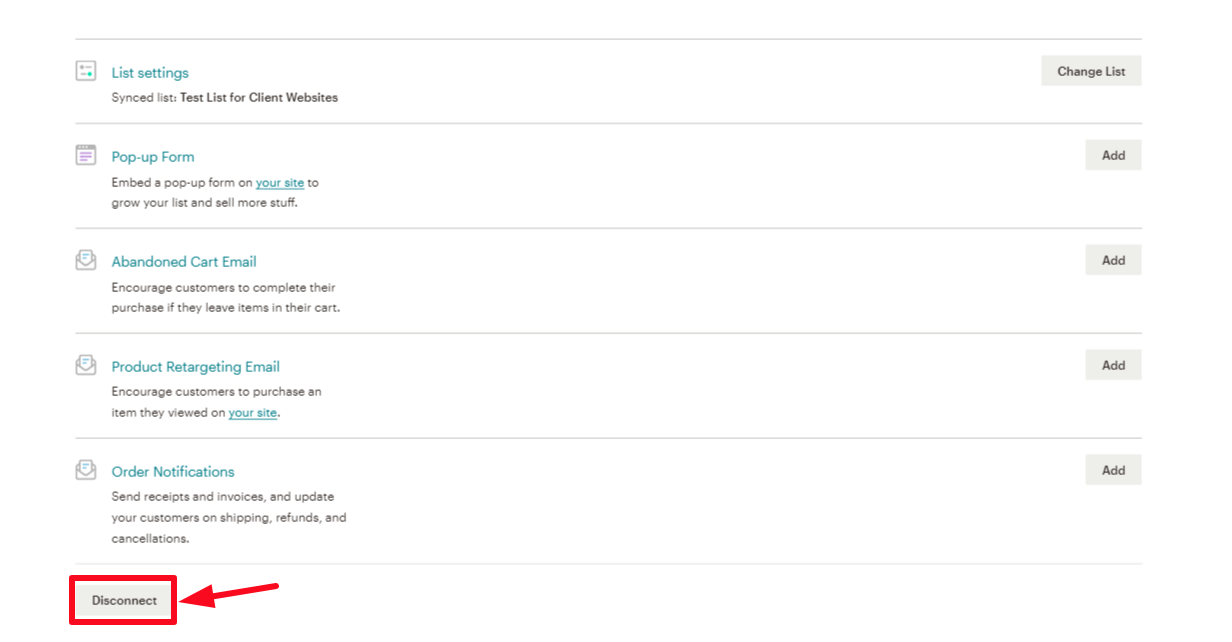
- To Disconnect Shopify from your MailChimp, navigate to MailChimp > Account > Connected Sites.
- On the Connected Sites screen – scroll down till you see the Disconnect button.

- Click Continue on the Are You Sure modal that pops up.
- To completely remove MailChimp integration, you will also need to uninstall the MailChimp app from your store.
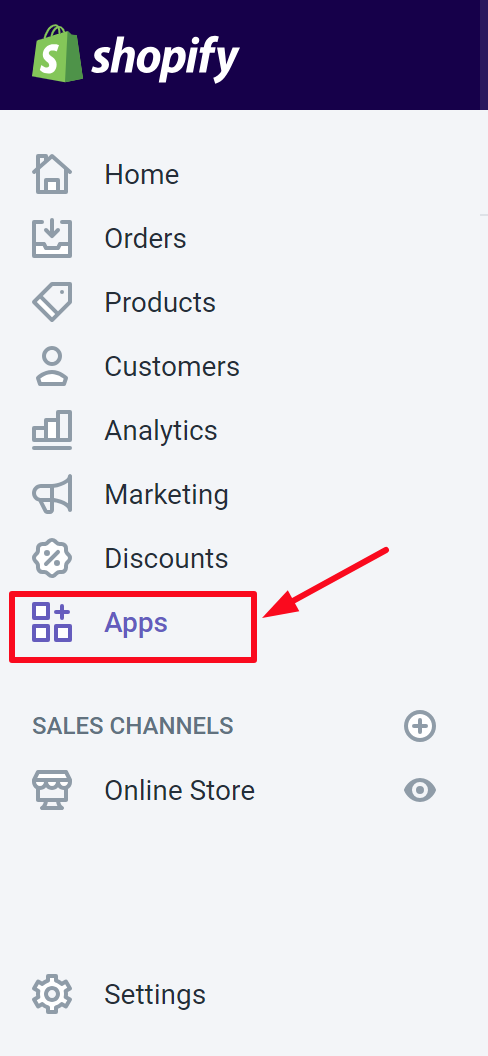
- Login to your Shopify Store > Navigate to Apps on the left navbar.

- Locate MailChimp for Shopify and click on the bin icon to uninstall the app.

- On the modal that pops up, select a reason for uninstalling and click Uninstall.


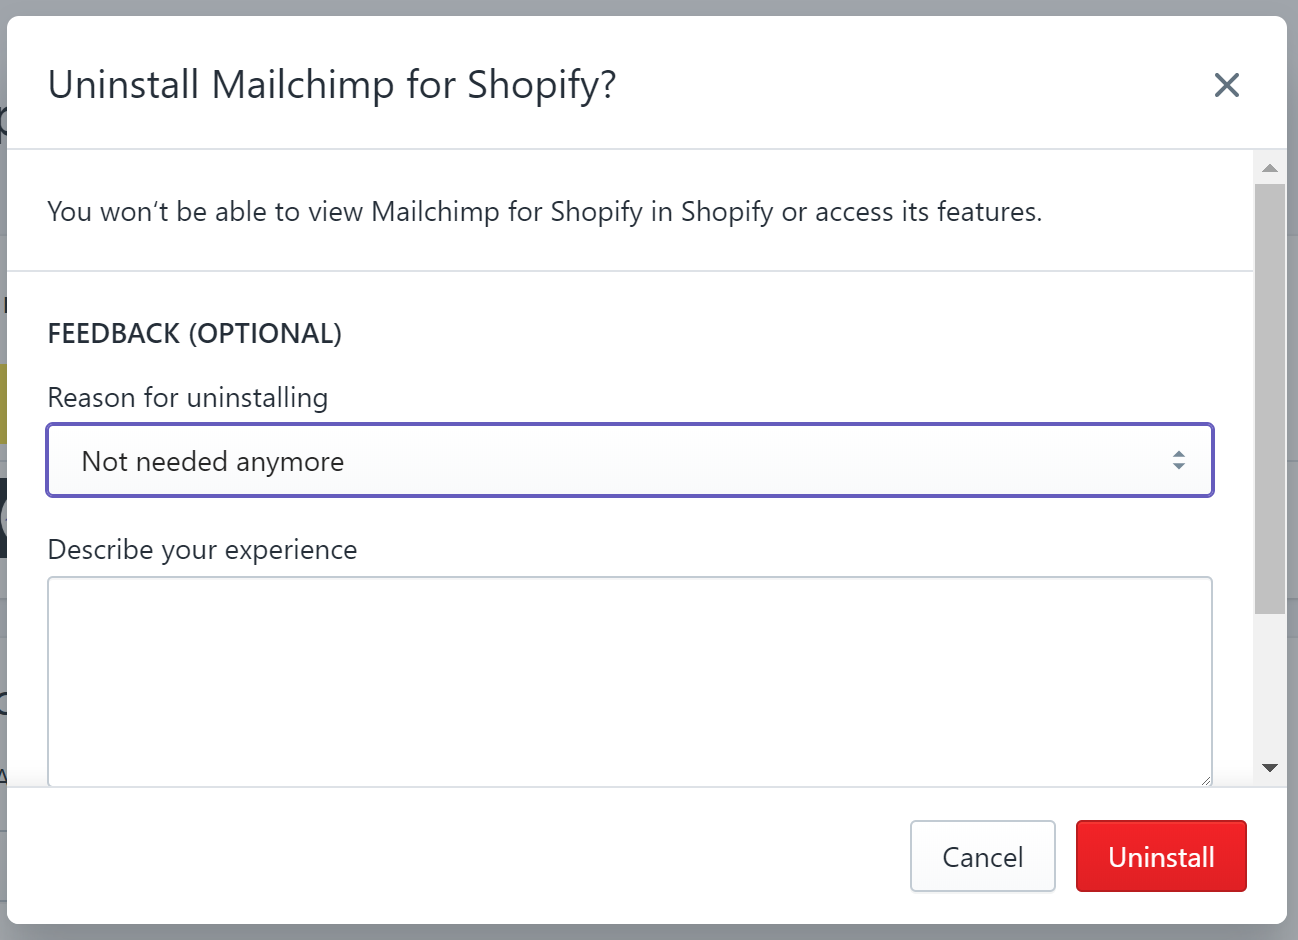
That’s It!


2 Responses
The mailchimp to shopify connection is being killed off. I would update this article so users are not frustrated when trying to find the integration.
Great point. I’ve added a line at the top of the post to advise folks of the recent split between Mailchimp and Spotify.